How to Remove Honeywell Thermostat Cover From The Wall?
Thermostats are essential devices that help regulate the temperature in our homes, ensuring comfort and energy efficiency. Honeywell thermostats are popular for their reliability and functionality.
How to Remove Honeywell Thermostat Cover From The Wall? However, there may come a time when you need to remove the thermostat cover, either for maintenance or replacement purposes.
In this guide, we will walk you through the process of safely removing the Honeywell thermostat cover from the wall.
Introduction to Honeywell Thermostat Cover
The thermostat cover is the outer casing that protects the internal components of the thermostat.
It also houses the display screen and control buttons, allowing users to adjust the temperature settings.
Importance of Removing the Thermostat Cover
Removing the thermostat cover is necessary for various reasons. It allows you to access the wiring and terminals behind the cover, which may be required for troubleshooting issues or installing a new thermostat.
Additionally, periodic removal of the cover facilitates cleaning and maintenance, ensuring optimal performance.
Preparing to Remove the Cover
Here’s how you can prepare to remove the Honeywell thermostat cover:
Turning Off the Thermostat
Before starting the removal process, it is crucial to turn off the thermostat to avoid any electrical accidents. Locate the power switch or circuit breaker connected to the thermostat and switch it off.
Gathering Necessary Tools
You will need a few tools to remove the Honeywell thermostat cover effectively. These may include a screwdriver (flathead or Phillips, depending on the screws), pliers (optional for some models), and a soft cloth for cleaning.
Steps to Remove Honeywell Thermostat Cover
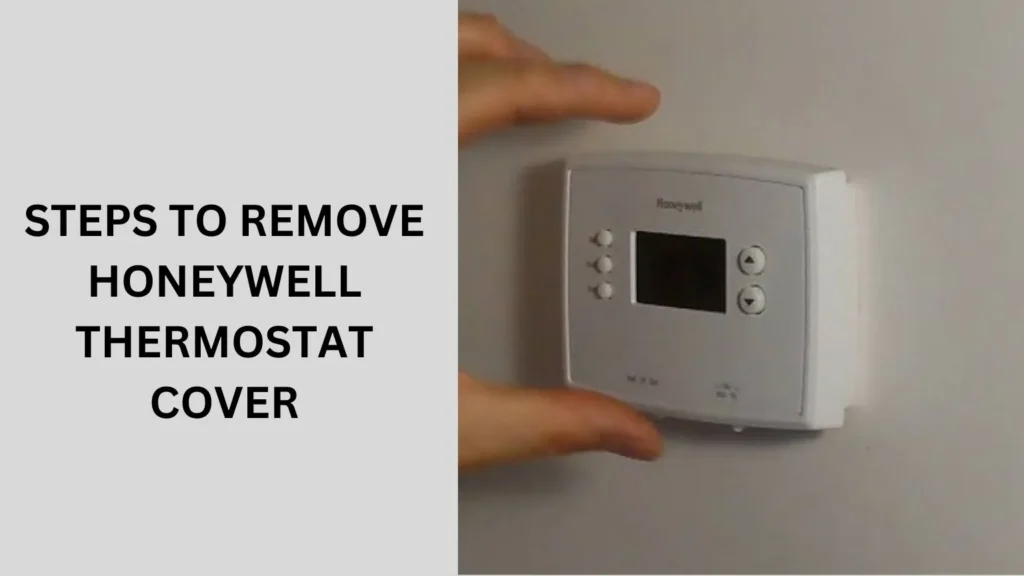
Here are the steps to remove the Honeywell thermostat cover:
Step 1: Identify the Type of Thermostat
Honeywell thermostats come in different models, each with its unique design for the cover. Determine if your thermostat has a snap-on cover or a screw-mounted cover.
Step 2: Remove the Faceplate
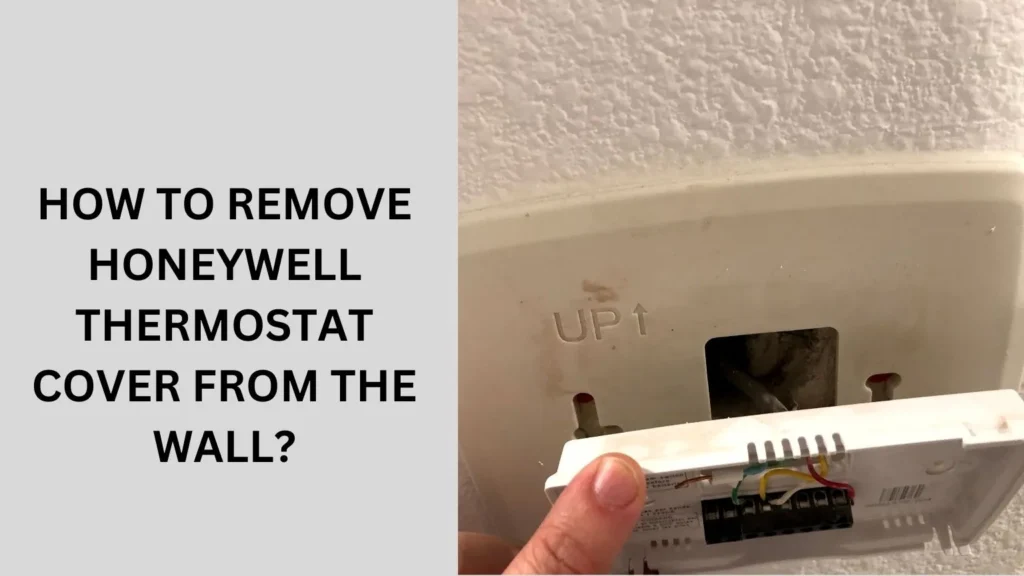
For snap-on covers, gently pry the faceplate using a flathead screwdriver or your fingers. Be careful not to apply too much force to avoid damaging the cover or the wall.
Step 3: Loosen the Mounting Screws
If your thermostat has mounting screws, use the appropriate screwdriver to loosen them. Keep track of the screws to prevent losing them during the process.
Step 4: Lift Off the Cover
Once the screws are loosened or the faceplate is removed, carefully lift off the cover from the wall. Be mindful of any wires connected to the thermostat and handle them with care.
Safety Tips During the Removal Process
- Always turn off the power before working on electrical devices.
- Handle the thermostat cover and wiring gently to avoid damage.
- If unsure, consult the Honeywell thermostat manual or seek professional assistance.
Cleaning and Maintenance of the Thermostat
After removing the cover, you can clean the internal components and the wall surface if needed. Use a soft cloth to wipe away any dust or debris, ensuring proper airflow and functionality.
Here are some tips for cleaning and maintaining your thermostat:
Power Off
Before cleaning or performing maintenance on your thermostat, ensure that the power is turned off to avoid any electrical hazards. Locate the power switch or circuit breaker connected to the thermostat and switch it off.
Remove the Cover
Follow the steps outlined earlier to remove the Honeywell thermostat cover from the wall.
Clean the Cover
Use a soft cloth slightly dampened with water or a mild cleaning solution to wipe the thermostat cover. Avoid using harsh chemicals or abrasive materials that could damage the cover.
Clean the Interior
Gently clean the internal components of the thermostat, such as the display screen and buttons, using a soft cloth. Be cautious not to apply excessive pressure or moisture that could affect the electronics.
Inspect for Dust and Debris
Check for any dust or debris inside the thermostat that could impede its functionality. Use a small brush or compressed air to remove any buildup.
Check Wiring and Connections
While the cover is off, inspect the wiring and terminal connections for any signs of damage or loose connections. Tighten any loose screws or terminals if necessary.
Reassemble
Once the cleaning and inspection are complete, reassemble the thermostat cover by following the steps in reverse order. Ensure that all components are securely in place.
Test Functionality
Turn the power back on and test the thermostat’s functionality to ensure it is operating correctly. Verify that the display is clear, and the buttons respond as expected.
Regular Maintenance
Consider performing routine maintenance on your thermostat, such as cleaning it every few months or as needed. This helps ensure optimal performance and longevity of the device.
People also ask
How do I take the cover off my Honeywell thermostat to change the battery?
To change the battery in your Honeywell thermostat, follow these steps:
Turn Off the Thermostat: Switch off the power to the thermostat to avoid electrical accidents.
Remove the Cover: Depending on your model, gently pry off the faceplate or unscrew the mounting screws to lift the cover.
Access the Battery Compartment: Locate the battery compartment inside the thermostat.
Replace the Battery: Take out the old battery and insert a new one, ensuring it’s placed correctly according to the polarity markings.
Reattach the Cover: Put the cover back on by snapping it into place or tightening the mounting screws.
Turn On the Thermostat: Restore power and check if the thermostat functions properly with the new battery.
How do you open a Honeywell wall thermostat?
To open a Honeywell wall thermostat, follow these steps:
Turn Off Power: Switch off the power to the thermostat to ensure safety.
Remove the Faceplate: Gently pry off the faceplate using your fingers or a flathead screwdriver, or unscrew the mounting screws if your model has them.
Access Interior: Carefully lift the cover away from the wall to access the interior components of the thermostat.
How do you remove the old thermostat cover?
To remove an old thermostat cover, follow these steps:
Turn Off Power: Switch off the power to the thermostat at the circuit breaker.
Check for Screws: Look for any screws holding the cover in place.
Remove Screws (if any): Use a screwdriver to remove the screws.
Pry Off Cover: If there are no screws, gently pry off the cover using your fingers or a flathead screwdriver.
Lift Off Cover: Carefully lift the cover away from the wall.
How do you remove a thermostat base from the wall?
To remove a thermostat base from the wall, follow these steps:
Turn Off Power: Switch off the power to the thermostat at the circuit breaker.
Remove Cover: Gently pry off the thermostat cover or unscrew it, depending on your model.
Disconnect Wires: Take a picture of the wiring for reference, then carefully disconnect each wire from the terminals.
Remove Mounting Screws: Use a screwdriver to remove the screws holding the thermostat base to the wall.
Lift Off Base: Gently lift the thermostat base away from the wall.
Conclusion: How to Remove Honeywell Thermostat Cover From The Wall?
In Conclusion, Removing the Honeywell thermostat cover is a straightforward process that requires caution and attention to detail.
Following the outlined steps and safety tips, you can safely remove the cover for maintenance or replacement purposes, ensuring your thermostat operates efficiently.
